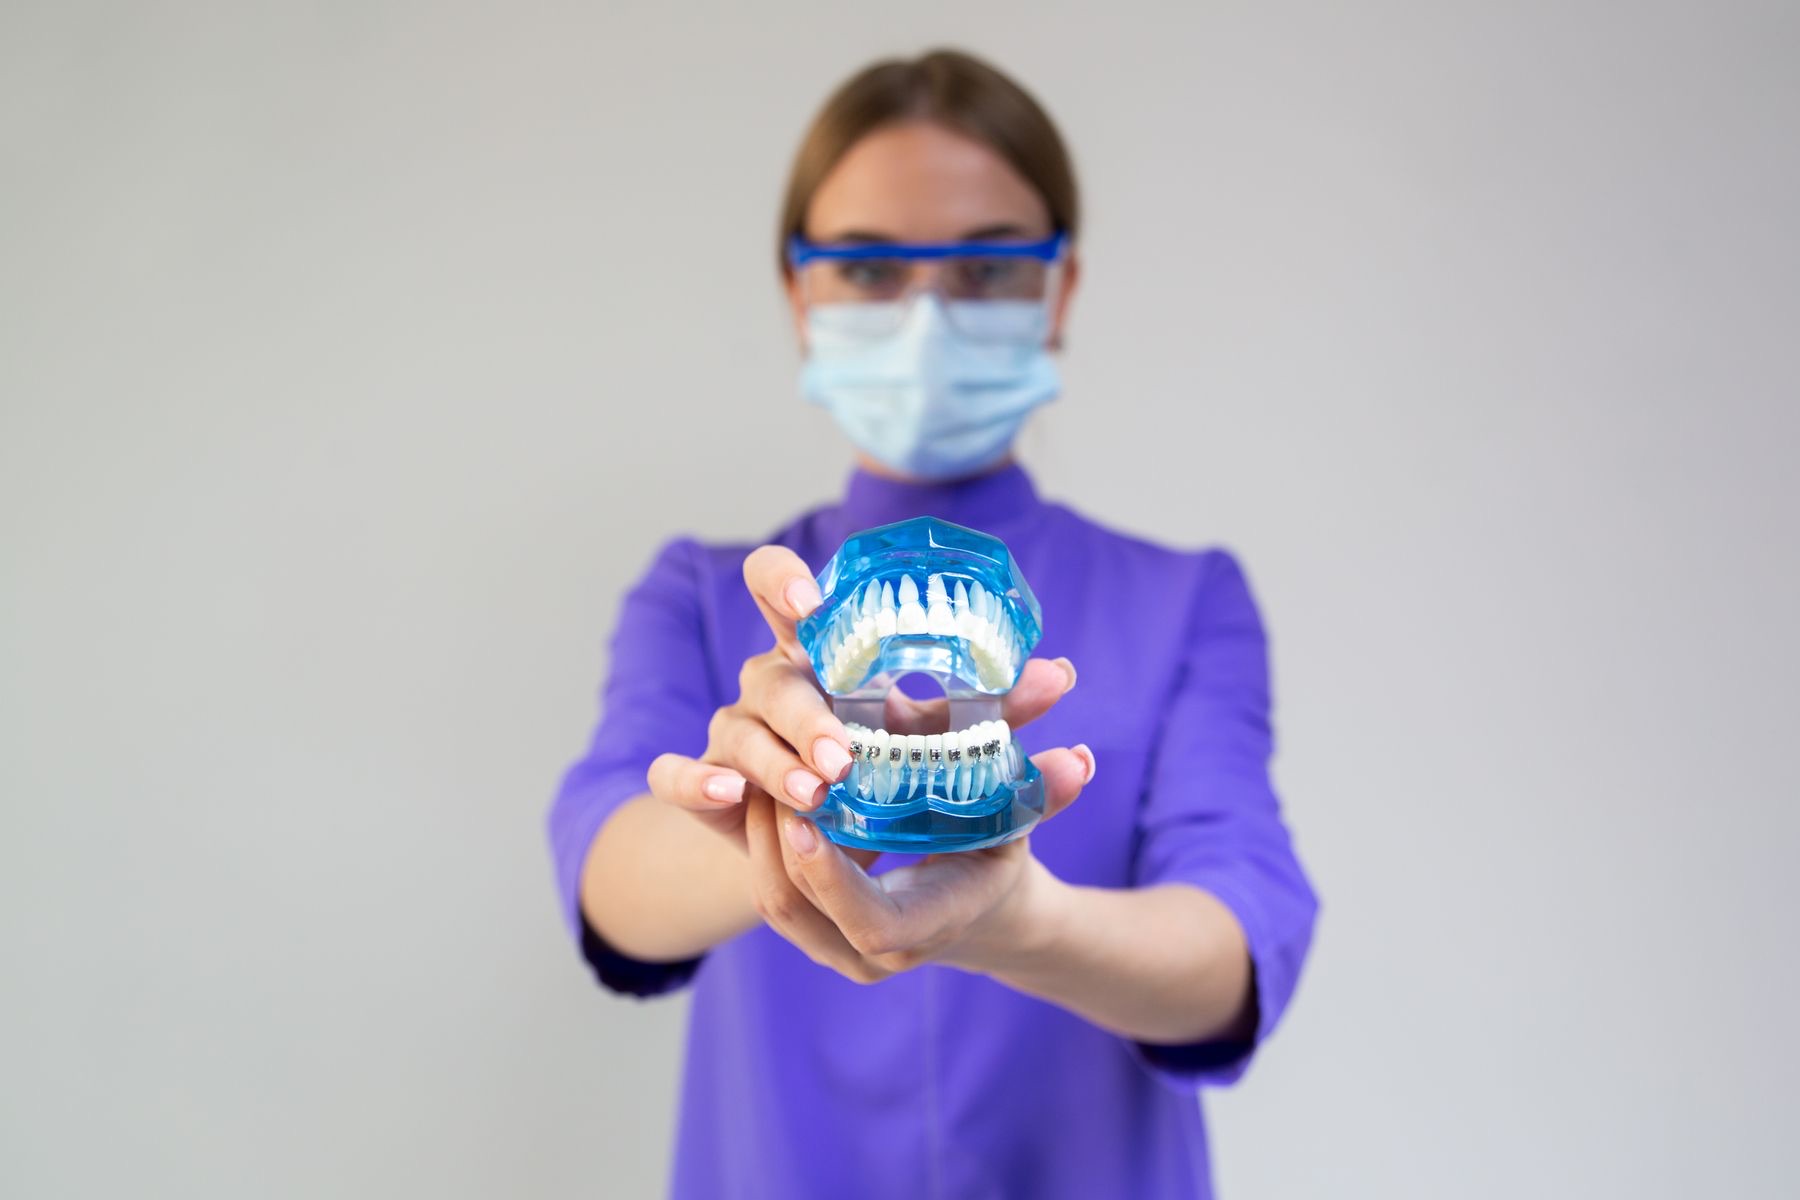
Trying a water flosser with braces for the first time? Expect a wet mirror or two. Start with lukewarm water and the lowest comfortable pressure, then lean over the sink before switching it on. Keep your lips loosely around the tip so the water can run into the basin. Follow the gumline slowly and pause above and below each bracket instead of sweeping past the front of the teeth. Once you learn a fixed route, the whole job becomes much less messy. A water flosser can make cleaning around wires easier, but it still works alongside brushing and any other method your orthodontist recommends. More pressure is not a shortcut for better cleaning.
01
Start low and learn the controls
Read the flosser manual and your orthodontist’s instructions first. Use lukewarm water if cold water feels sharp. Insert the standard or orthodontic tip until it locks, fill the tank and place the tip in your mouth before switching on. Begin at the lowest setting and increase only when the stream feels controlled and comfortable.
A countertop model offers a larger reservoir, while a cordless one is easier to pack. Our water flossers for braces focus on useful pressure control and tips. For trips, compare portable water flossers and check the charger voltage before travelling.
02
Follow the gumline one tooth at a time
Lean forward over the sink and keep your mouth partly closed so water flows out rather than spraying the mirror. Start at the back tooth. Aim the stream at the gumline at roughly a right angle, then move slowly from tooth to tooth. Pause briefly between teeth instead of sweeping quickly across the front surfaces.
Tender gums may bleed when a cleaning routine changes, but heavy, painful or persistent bleeding needs professional advice. Do not turn the pressure to maximum to finish faster. Good control and complete coverage matter more than force, and the appropriate pressure differs between people and devices.
03
Pause around each bracket and wire
Guide the stream around the top and bottom of each bracket, along the wire and beside bands or other hardware. Food can sit at the edges where a normal brush misses. An orthodontic tip may include a small tapered brush, but use it lightly and replace it when worn. Never force a tip under a wire or against a loose bracket.
Work in a consistent order so no section is missed: outer upper teeth, outer lower teeth, then inner surfaces. Follow any special route your orthodontist gives for elastics, expanders or implants. People with restorative work may also find our water flossers for dental implants useful, though clinical advice comes first.
04
Make it part of the full routine
Empty the reservoir after use if the manual recommends it and allow removable parts to dry. Rinse the tip and clean mineral deposits by the maker’s method. Do not share tips. Replace them at the stated interval, or sooner if bristles spread or the plastic becomes damaged.
Brush with fluoride toothpaste for the time and technique advised by your dental team. Use floss threaders or interdental brushes if they remain part of your plan. A water flosser is one tool, not a guarantee against decay or gum problems. Broken wires, swelling, severe pain or ongoing bleeding should go to an orthodontist or dentist rather than a higher pressure setting. Use a mirror for the first few sessions and divide the mouth into sections. A fixed order makes missed brackets easier to spot and turns a messy technique into a quick habit.
Disclosing tablets may reveal areas that need more attention if your dental team recommends them. For people with other dental work, our water flosser guide for bridges and crowns covers product features, but only a clinician can advise around healing tissue or a specific appliance.
Sources and further reading
We use primary and specialist sources to check the principles in this article. Product recommendations are researched separately.


