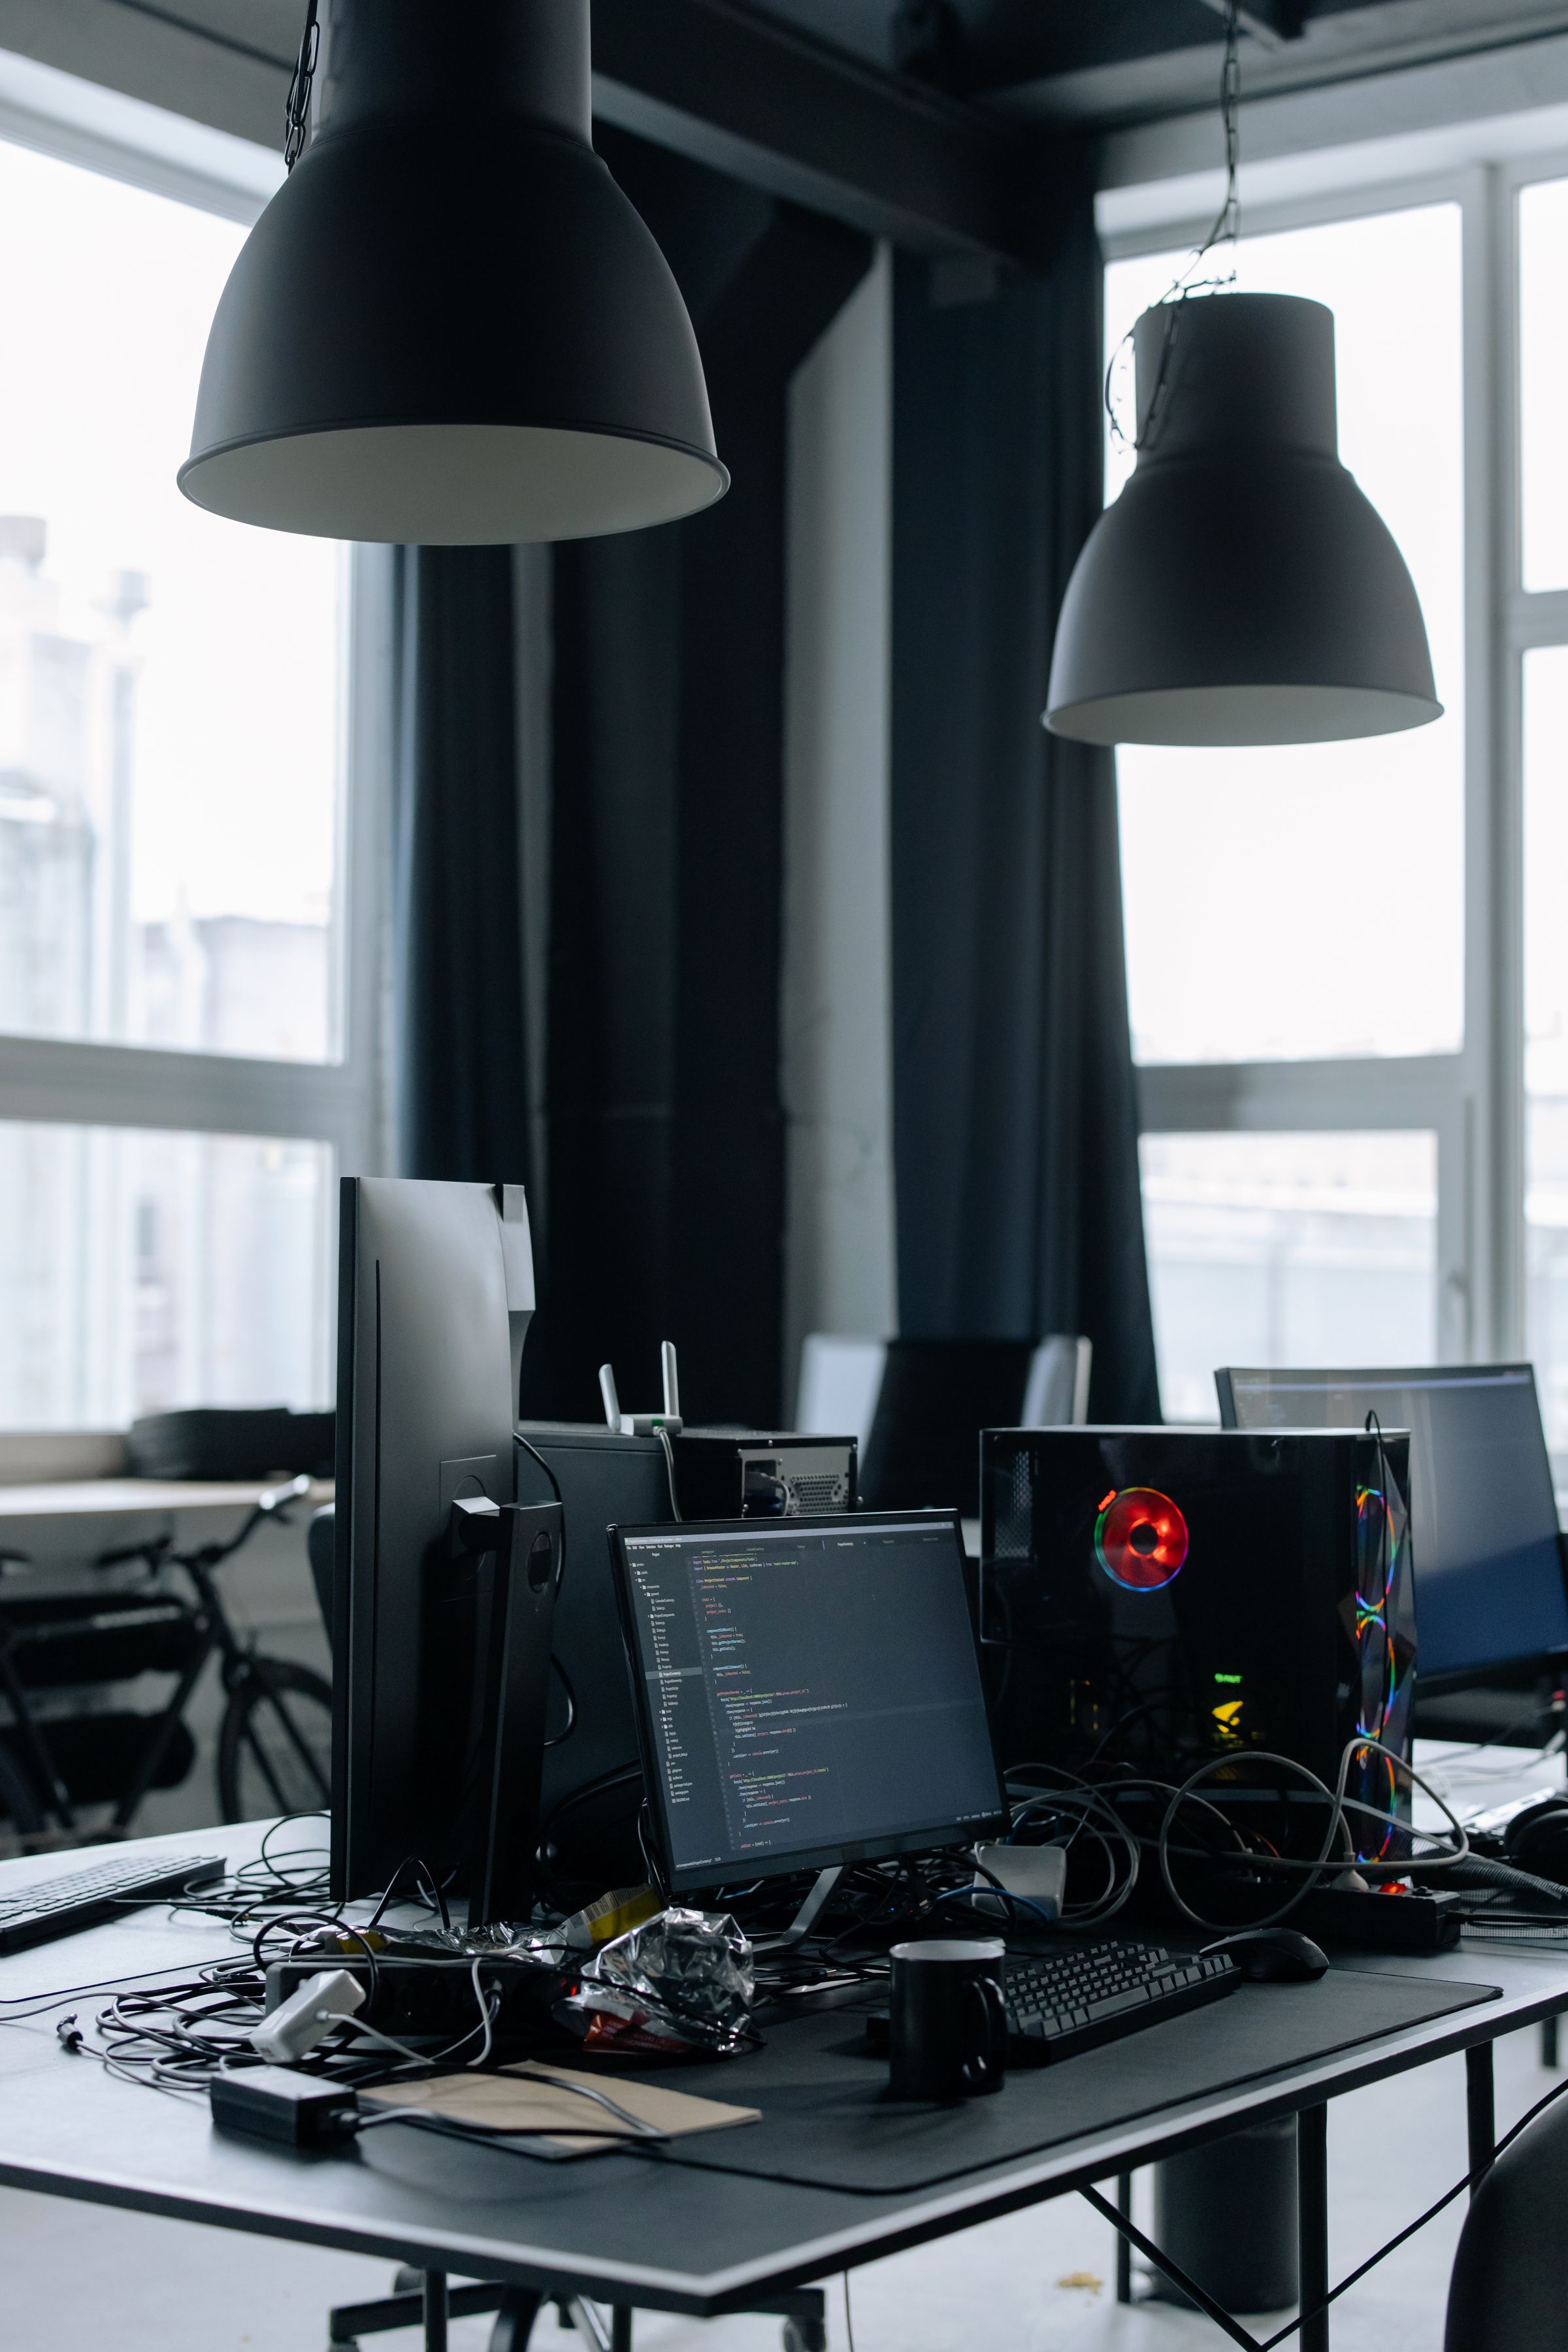
Monitor flickering can appear as rapid brightness changes, brief black screens or visible flashes.
It may be caused by a cable, refresh-rate setting, graphics driver, power issue or the monitor itself.
Because several problems can look similar, troubleshooting one step at a time is the easiest approach.
01
Check the cable first
Make sure the display cable is fully connected.
A loose HDMI, DisplayPort or USB-C cable can interrupt the signal briefly and create flickering.
Reconnect both ends and test a different cable if possible.
Cheap or older cables may also struggle with high resolutions and refresh rates.
02
Check the refresh rate
Open your display settings and verify that the monitor is running at a supported refresh rate.
If you recently changed from 60 Hz to 144 Hz, 165 Hz or another higher setting, try temporarily reducing it.
If flickering disappears, the issue may involve the cable, port, graphics card or monitor at the higher bandwidth.
03
Update graphics drivers
Graphics-driver problems can cause flickering, especially after operating-system updates or new GPU driver installations.
Restart the computer first.
If the issue remains, update or reinstall the graphics driver from the hardware manufacturer.
04
Try another port
Move the cable to another compatible output on the graphics card or another input on the monitor.
This helps determine whether one specific connector is causing the problem.
05
Disable adaptive sync temporarily
Variable-refresh-rate technologies such as FreeSync or G-Sync can occasionally cause flickering in certain games or applications.
Temporarily disable adaptive sync and test again.
If the flickering disappears, adjust your frame-rate or VRR configuration rather than immediately blaming the monitor.
06
Check the power connection
A loose power cable or unstable power source can also create flickering.
Reconnect the monitor's power cable and test another outlet if possible.
If the monitor uses an external power adapter, inspect it for damage.
07
Does flickering happen in every application?
If the monitor flickers only in one game or program, the issue may be software-specific.
Try running the application in a different display mode or disabling hardware acceleration where relevant.
If the entire desktop flickers, the problem is more likely related to the system, connection or display.
08
Test the monitor with another computer
Connect the screen to another computer.
If the flickering remains, the monitor or cable becomes the likely cause.
If it disappears, focus on the original computer's graphics hardware and settings.
If the display itself is failing, our computer monitor recommendations can help you compare replacement options.
09
Practical checks before you continue
Notice when the flicker occurs. If it starts only in one game, browser or brightness range, that clue is more useful than randomly replacing parts. Record the resolution, refresh rate and adaptive-sync status before changing a setting so you can restore the baseline.
Test a known-good cable connected directly to the computer and monitor, bypassing a hub or adapter temporarily. Confirm that the cable supports the requested bandwidth. Our USB-C hub versus docking station guide explains why an intermediary can limit a display signal.
Set a refresh rate explicitly supported by the monitor and try disabling adaptive sync, overclocking and motion-processing options one at a time. If the screen instead shows persistent horizontal or vertical marks, follow our guide to lines on a monitor.
Flicker that remains in the monitor menu, during startup or with another computer is more likely to involve the display or its power supply. Stop using equipment that smells hot, sparks or has a damaged cable. If replacement is required, compare current options in our home-office monitor guide.
Brightness-related flicker can also come from automatic brightness, local dimming or power-saving behavior. Disable one feature at a time for testing, then restore useful settings. If flicker causes headaches or eye discomfort, stop using the display until the cause is identified rather than extending the test.
Keep notes of every successful test so you can describe the conditions clearly to the manufacturer, retailer or repair technician if service is needed.
Sources and further reading
We use primary and specialist sources to check the principles in this article. Product recommendations are researched separately.


